
Spam, Egg, and Rice Onigiri
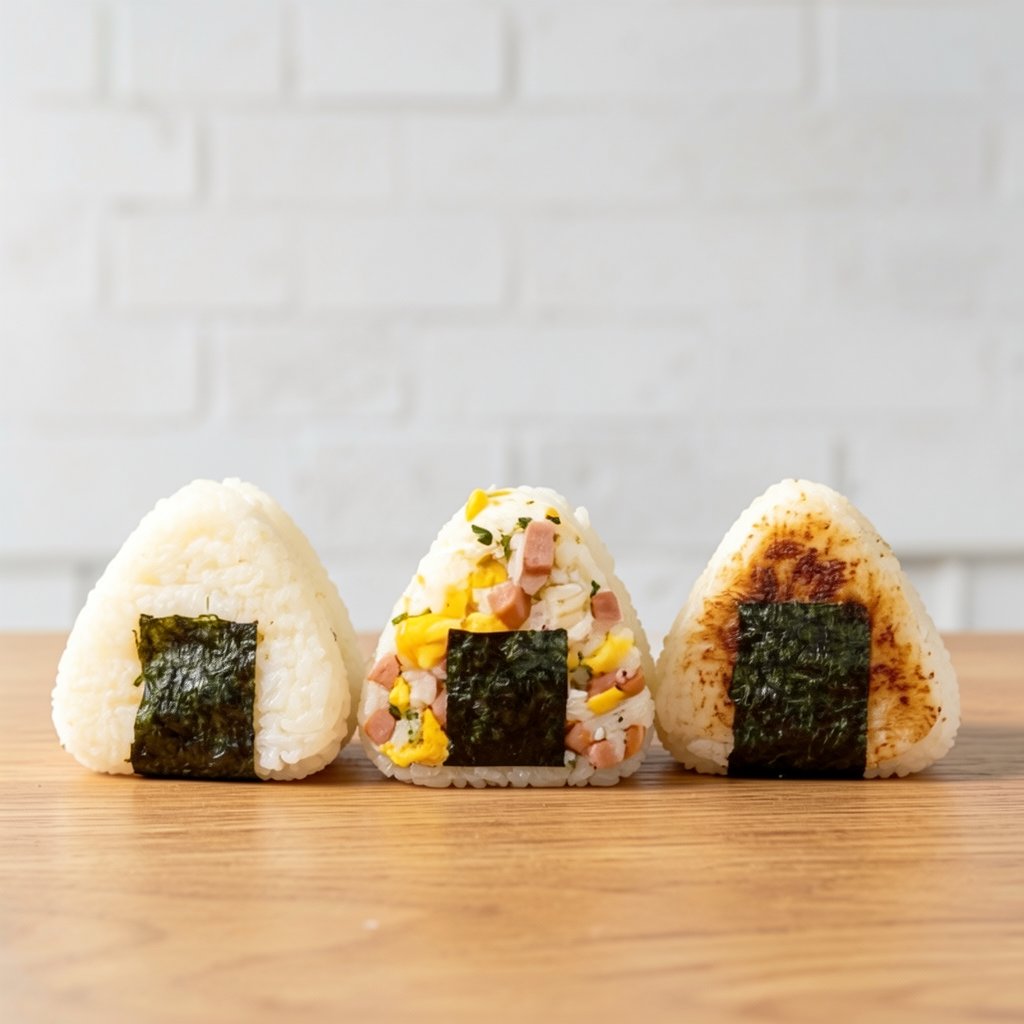
A quick and easy recipe for delicious Spam, Egg, and Rice Onigiri, perfect for a portable snack or light meal.
35m3Servings
Nutrition
792kcal
35gProtein
50gCarbs
49gFat
Ingredients
RICE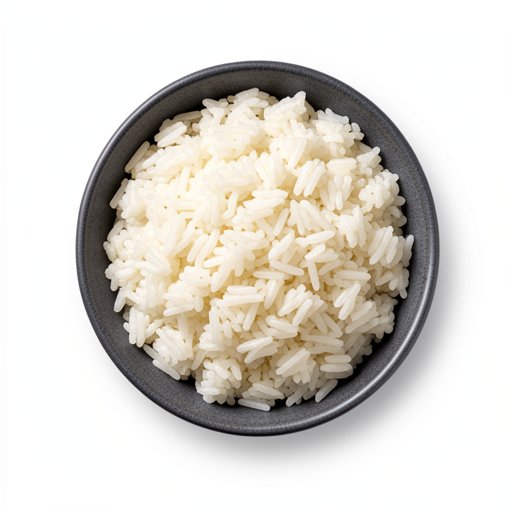
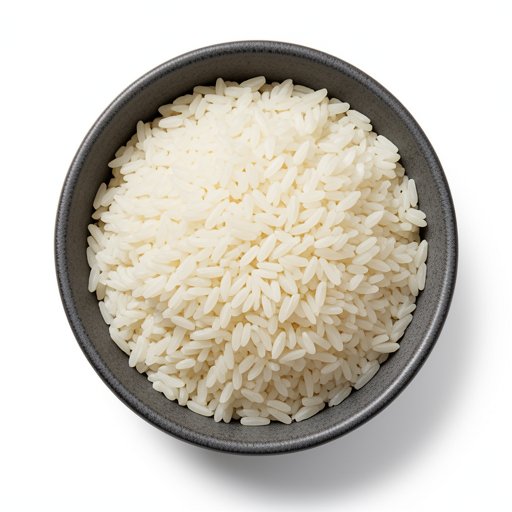
Japanese Short Grain Rice
3 rice_cooker_cups
Water
3.75 rice_cooker_cups
FILLING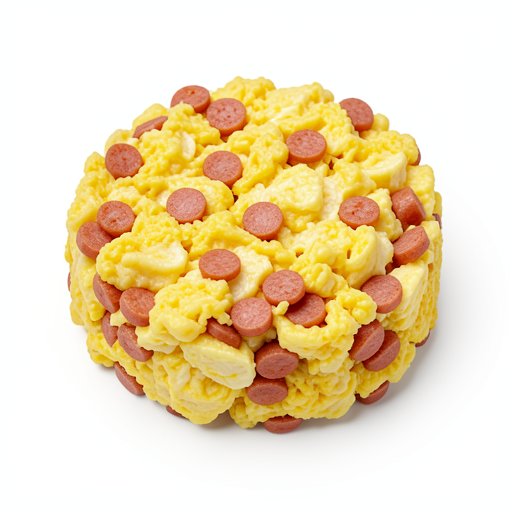
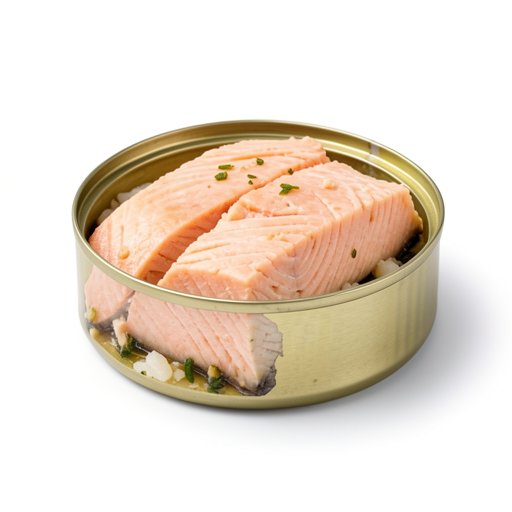
Canned Salmon
1 can
Japanese Mayonnaise
1½ tbsp
Sriracha
1 tsp
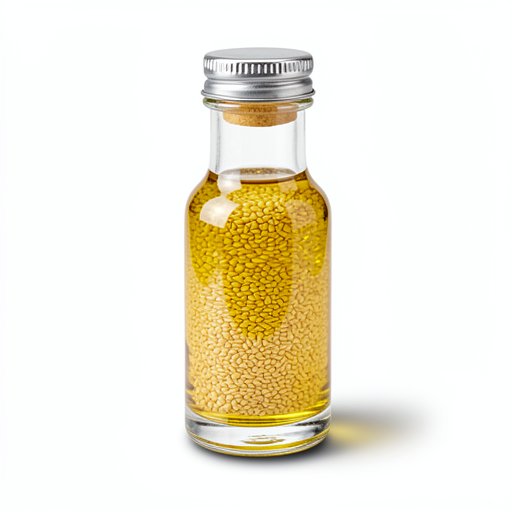
Sesame Oil
¼ tsp
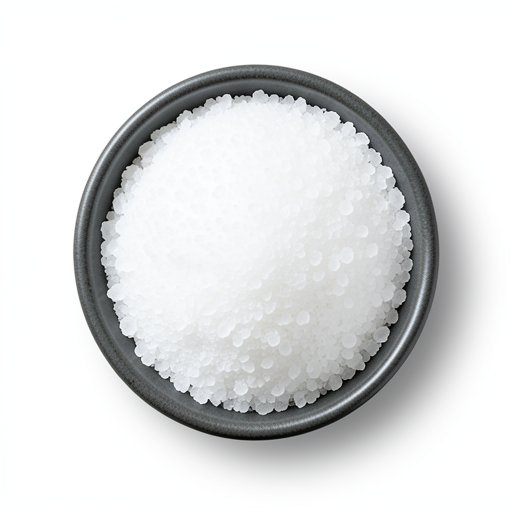
Salt
to taste
YAKI ONIGIRI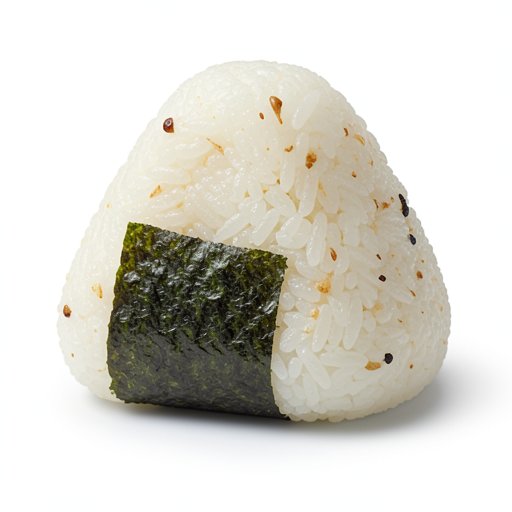
Cooked Rice
1 cup
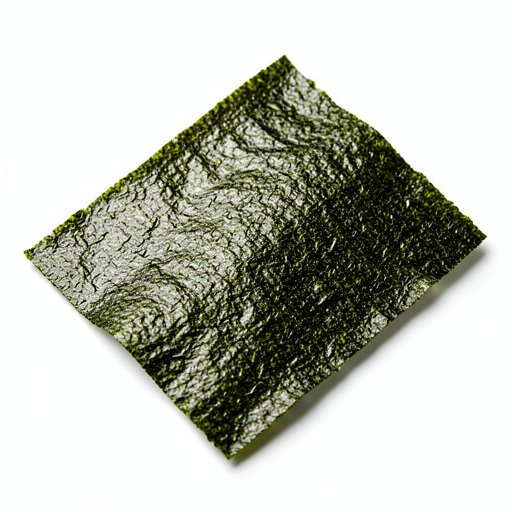
Nori Sheet
0.5 sheet
SPAM AND EGG FILLING
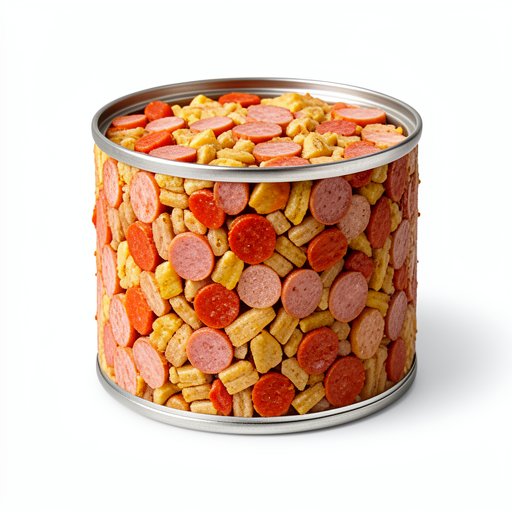
Spam
0.25 can
Egg
1 large
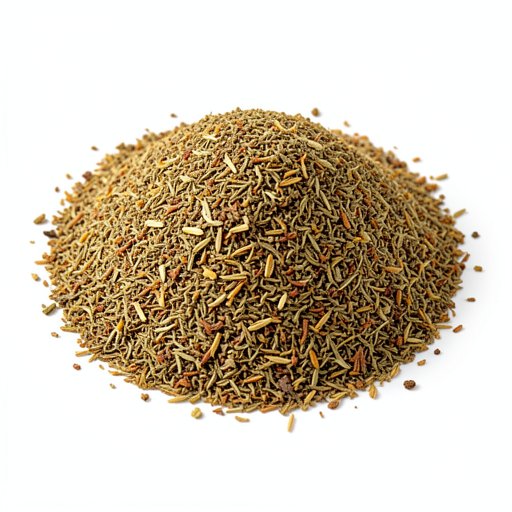
Furikake
1 tsp
Equipment
Rice Cooker
Instructions
1Cook the Rice 40m
40m
40mRinse Rice
Rinse the Japanese short-grain rice under cold water until the water runs mostly clear. Drain well.
Add Water and Cook
Place the rinsed rice in the rice cooker pot. Add 3.75 rice cooker cups of water. Cook according to your rice cooker's instructions.
Rest Rice
Once cooked, let the rice rest, covered, for about 10-15 minutes. This allows the rice to steam and become fluffy.
2Prepare the Fillings 10m
10m
10mPrepare Salmon Filling
Drain the canned salmon, removing excess liquid. In a small bowl, combine the drained salmon with 1.5 tbsp Japanese mayonnaise, 1 tsp sriracha, and 1/4 tsp sesame oil. Mix well. Add salt to taste, but be cautious as canned salmon can be salty. Mix again.
Prepare Spam and Egg Filling
Dice half a can of Spam into small pieces. In a separate bowl, whisk one large egg with a pinch of salt and a tiny pinch of sugar (optional). Cook the diced Spam in a non-stick pan over medium-high heat until browned and slightly crispy. Remove the Spam and set aside. In the same pan, pour the whisked egg and cook until set, creating a thin omelet. Chop the cooked egg and Spam together. Stir in 1 tsp of furikake.
3Shape the Onigiri 15m
15m
15mPrepare Hands and Surface
Wet your hands with salt water (or plain water) and wash them thoroughly. This prevents the rice from sticking. Lay out a piece of plastic wrap on your cutting board.
Form the Base
Take about 150g of cooked rice and place it on the plastic wrap. Gently press and mold it into a rough triangle shape, about 1/3 of the way up the sides of the mold if using one.
Add Filling
Create a small indentation in the center of the rice and add about 1 tablespoon of your chosen filling (salmon or spam/egg mixture). Do not overstuff.
Enclose the Filling
Add another layer of rice on top of the filling, ensuring it's not too packed. Carefully enclose the filling with the rice, pressing gently to form a ball or triangle shape. Use your hands to mold it into a neat shape, pressing with your middle and ring fingers to create flat sides and rounded edges.
Wrap with Nori (Optional)
For the traditional onigiri, take a piece of nori, fold it in half, and wrap it around the base of the rice ball. Fold the other side over to secure. You can use a cute sticker to hold it together.
Shape Yaki Onigiri
For the yaki onigiri, take a portion of rice, form it into a ball or triangle shape in your hands. Press the rice firmly but gently to ensure it holds together. Place the rice ball onto a piece of aluminum foil.
Pan-Fry Yaki Onigiri
Heat a non-stick pan over medium-high heat with a touch of neutral oil. Place the rice balls, flat side down, and sear for a few minutes until golden brown. Flip and repeat on the other sides until all sides are nicely browned and crispy.
Brush with Glaze
While the yaki onigiri are searing, prepare a glaze by mixing 2 tbsp soy sauce, 1 tbsp rice vinegar, and 1 tsp brown sugar in a small bowl. Whisk until dissolved. Brush this glaze over the rice balls during the last minute of cooking on each side.
Tips
Wet your hands with salt water before handling the rice to prevent sticking.
Don't overstuff the onigiri with filling, as it can make them difficult to shape and prone to falling apart.
For yaki onigiri, ensure the pan is hot before adding the rice balls to achieve a good sear.
The glaze for yaki onigiri can be adjusted to your taste; feel free to add a touch of mirin or other seasonings.
If you don't have onigiri molds, you can shape them by hand using plastic wrap to help.