
South African Boerewors
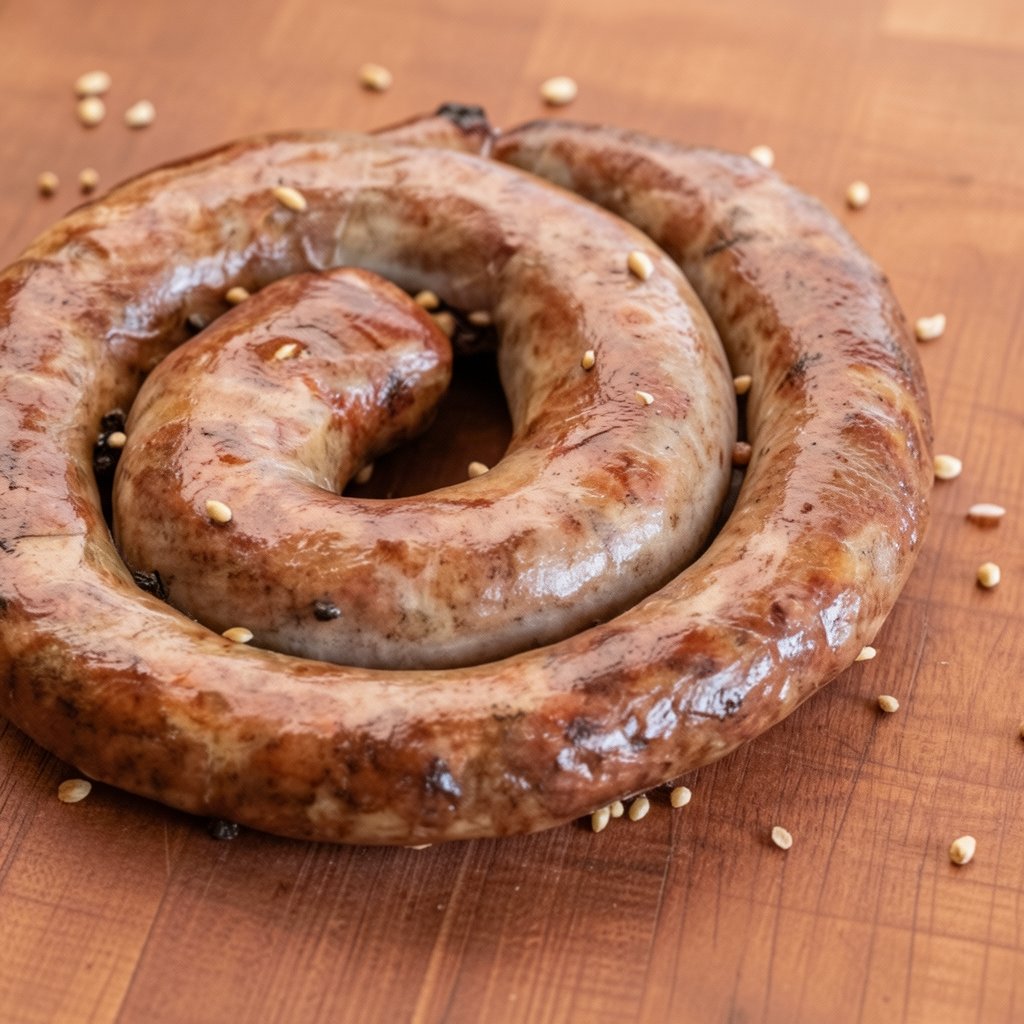
A classic South African sausage, Boerewors, made with beef and pork, seasoned with a blend of spices and grilled to perfection.
2h 50m8Servings
Nutrition
780kcal
18gProtein
2gCarbs
77gFat
Ingredients
SPICE BLEND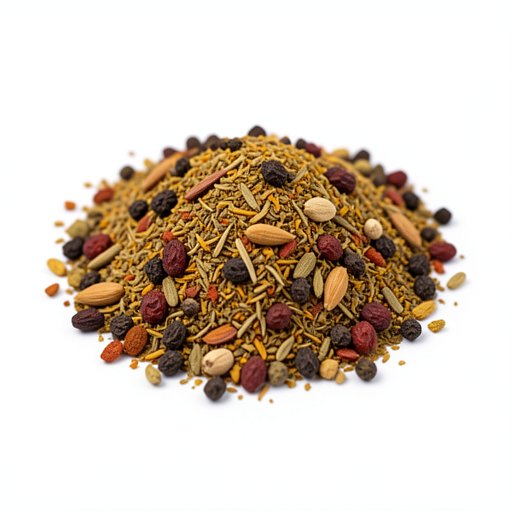
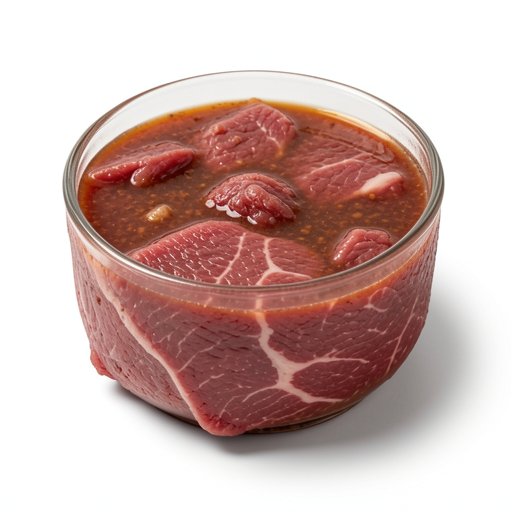
Beef Broth
¼ cup
Worcestershire Sauce
2 tbsp
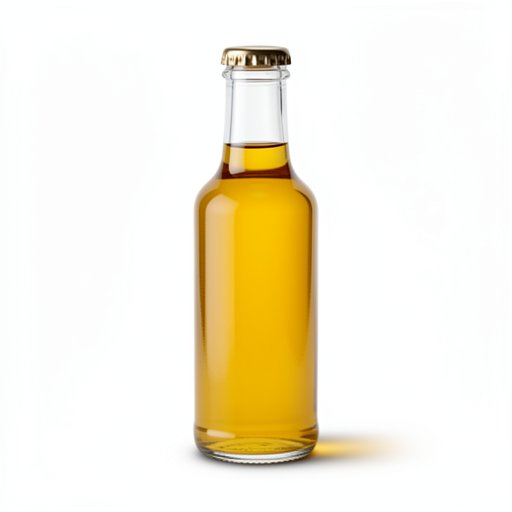
Malt Vinegar
2 tbsp

Kosher Salt
1 tbsp
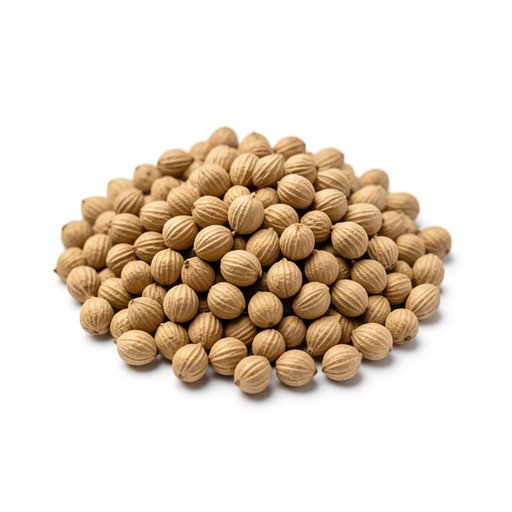
Toasted Coriander Seed
toasted
1 tbsp
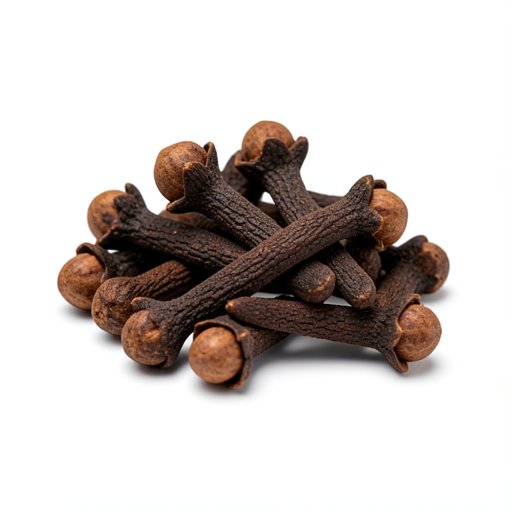
Whole Cloves
1 tbsp
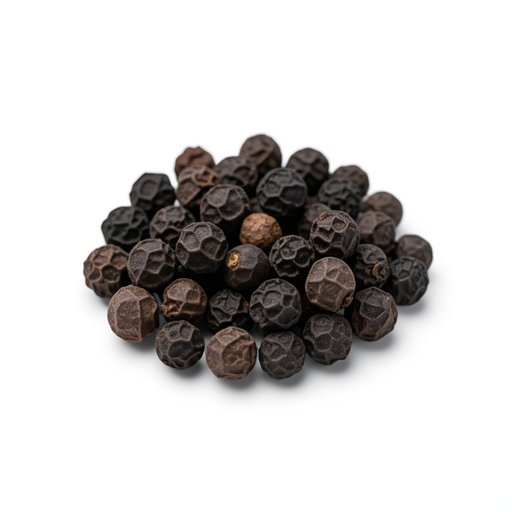
Peppercorns
1 tbsp
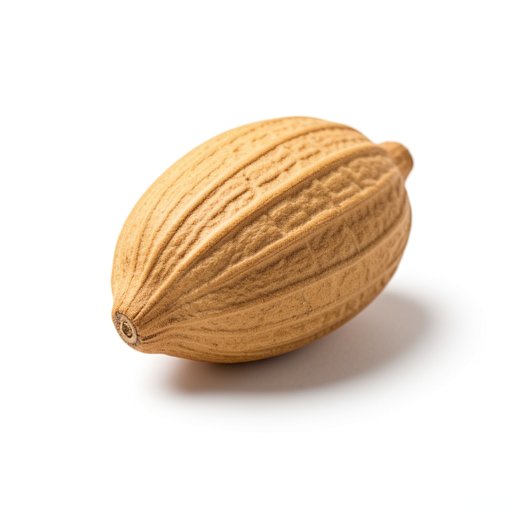
Nutmeg
½ tsp
SAUSAGE
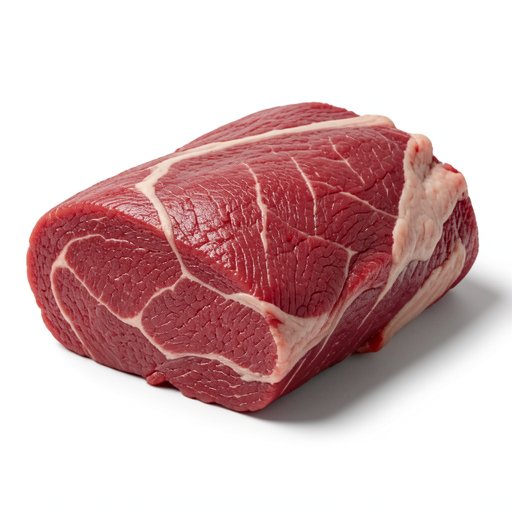
Beef
lean, about 30% fat
1.5 lb
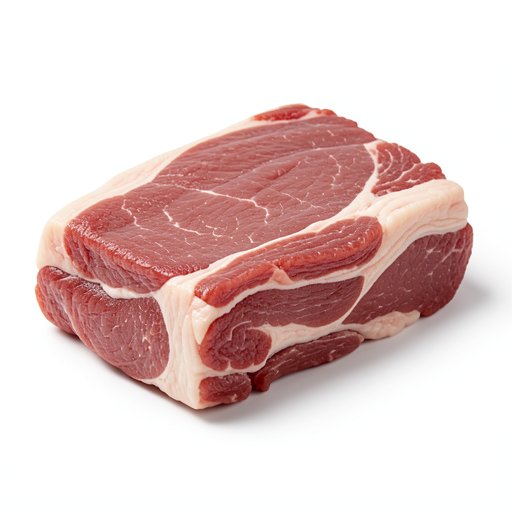
Pork
about 30% fat
1 lb
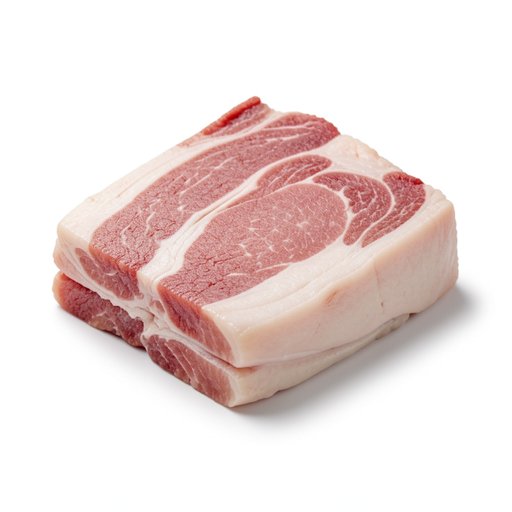
Pork Fat
0.5 lb
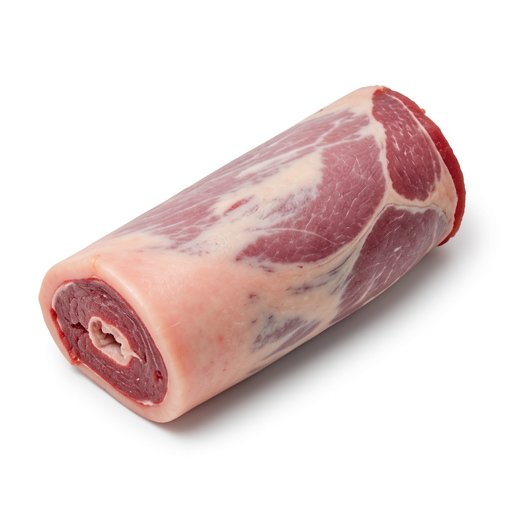
Natural Hog Casings
soaked overnight in water with baking soda
1 hank
Equipment
Grill

Mortar and Pestle
Meat Grinder
Instructions
1Prepare the Spice Blend 10m
10m
10mGrind Spices
In a mortar and pestle, combine the kosher salt, toasted coriander seeds, whole cloves, peppercorns, and nutmeg. Grind until a coarse powder forms. Alternatively, use a spice grinder or food processor.
Combine Wet Ingredients
In a small bowl, combine the beef broth and Worcestershire sauce. Add the malt vinegar (or red wine vinegar/apple cider vinegar) to the broth mixture.
Mix Spice Blend
Add the ground spice mixture to the liquid ingredients and stir to combine. Set aside.
2Prepare the Meat 20m
20m
20mCut the Meat
Cut the beef, pork, and pork fat into small cubes, roughly 1-inch pieces. Aim for a meat-to-fat ratio of approximately 70/30.
Chill the Meat
Place the cubed meat and fat into a container and freeze for about 1-2 hours, until partially frozen. This will make grinding easier and prevent the fat from smearing.
3Grind the Meat 15m
15m
15mAssemble the Grinder
Assemble your meat grinder with the coarsest plate (8mm or 10mm). Ensure all parts are clean and cold.
Grind the Meat
Feed the chilled meat and fat cubes into the grinder. Grind all the meat and fat into a large container. Do not over-grind; you want a coarse texture with visible fat pockets.
4Mix and Season 10m
10m
10mAdd Spice Blend
Pour the prepared spice blend over the ground meat mixture.
Mix Thoroughly
Using your hands, gently mix the meat and spice blend. Run the mixture through your fingertips to ensure the spices are evenly distributed. The goal is not to emulsify the meat, but to distribute the seasonings. The mixture should be loose enough that it doesn't stick to your hands.
Chill the Mixture
Cover the container and refrigerate the sausage mixture for at least 1-2 hours to allow the flavors to meld and the meat to firm up.
5Stuff the Casings 20m
20m
20mPrepare the Casings
Rinse the hog casings under cold water. Place them in a bowl of clean water and let them soak for at least 30 minutes, or as directed by the manufacturer. For easier stuffing, you can add a little water to the inside of the casing by running it over the sausage stuffer horn.
Load the Stuffer
Load the sausage stuffer with the chilled meat mixture. Gently pack it in, but avoid compressing it too much.
Stuff the Sausages
Slide a prepared casing onto the stuffer horn, leaving a small amount of casing to tie off. Slowly operate the stuffer, filling the casing with the meat mixture. Avoid overfilling, as this can cause the casings to burst during cooking. Leave about an inch of casing empty at the end to tie off.
Tie Off the Casing
Once filled, twist the casing to create individual sausages or leave it as one long coil, as is traditional for Boerewors. Tie off the end securely.
6Cook the Boerewors 20m
20m
20mPrepare the Grill
Prepare your grill for medium-high heat. If using charcoal, arrange the coals for indirect heat.
Grill the Sausage
Place the coiled Boerewors onto the grill. Cook for about 15-20 minutes, turning occasionally, until the sausages are browned and cooked through. The internal temperature should reach 160°F (71°C).
Rest the Sausage
Once cooked, remove the Boerewors from the grill and let it rest for 5-10 minutes before slicing and serving.
Tips
Ensure your meat and fat are well-chilled before grinding for the best texture.
Don't over-grind the meat; a coarse texture is key to authentic Boerewors.
If your casings are difficult to stuff, try adding a little water to the inside of the casing.
When grilling, use medium-high heat and turn the sausage frequently to ensure even cooking and prevent burning.