
Sourdough Starter Recipe
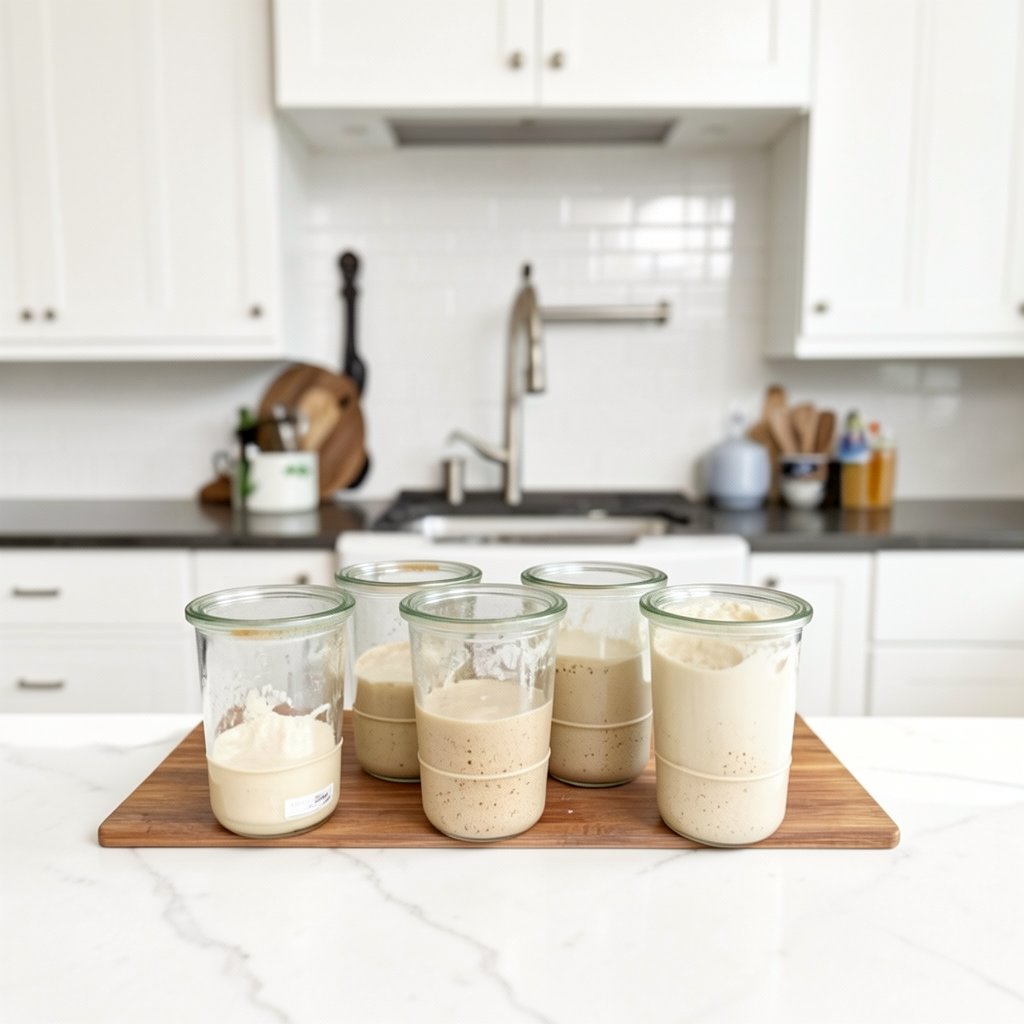
Easy sourdough starter recipe using just flour and water, perfect for beginners.
7 days4Servings
Nutrition
539kcal
18gProtein
114gCarbs
2gFat
Ingredients
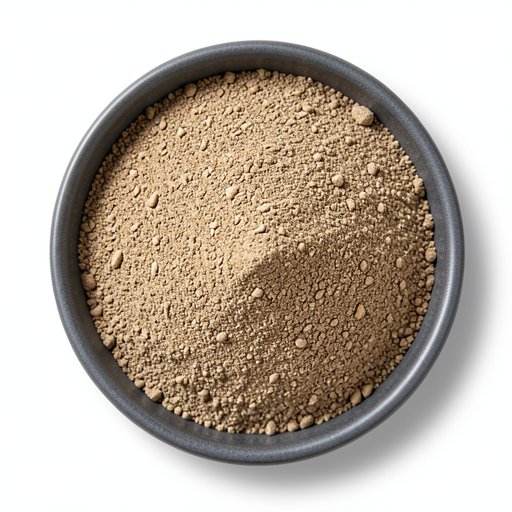
Whole Grain Rye Flour or Whole Wheat Flour
100 g
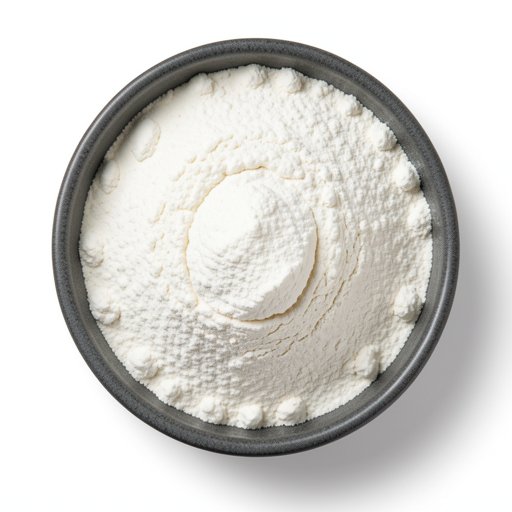
All-purpose Flour
preferably organic and avoiding bleached flour, used to maintain and feed the starter
500 g
Filtered Water
room temperature
1 qt
Equipment
Kitchen Scale
Instructions
1Day 1: Make Your Starter 10m
10m
10mPrepare Jar
Record the weight of your jar in grams before you add anything and label the jar with your starting date for easier tracking.
Mix Ingredients
Add 100 grams (3/4 cup) whole wheat or rye flour and 100 grams (1/2 cup) water. Stir together thoroughly with a fork (it will be very thick), scrape down the sides with a spatula. Cover with a loose-fitting lid and let it rest at room temperature for 24 hours. Put a rubber band around your jar to mark the growth of your starter. Label the jar with a date to track.
2Day 2: No Changes Noted
Rest
Likely nothing is happening. You might see some tiny bubbles or it will look exactly the same. Let it rest for another 24 hours.
3Day 3: Visible Growth and Bubbles 5m
5m
5mDiscard and Feed
Remove and discard half of the starter. You should have 100 grams (1/2 cup) of starter left. Add 100 grams (3/4 cup) all-purpose flour and 100 grams (1/2 cup) room temp water. Stir thoroughly, scrape down the sides of the jar, cover loosely, and rest at room temperature for 24 hours.
4Day 4: More Bubbles 5m
5m
5mDiscard and Feed
Remove and discard all but 100 grams of starter. Add 100 grams (3/4 cup) all-purpose flour and 100 grams (1/2 cup) room-temperature water. Stir thoroughly, scrape down the sides of the jar, cover loosely, and rest 24 hours. Note: If your starter seems to slow down its growth on day 4, just keep feeding it; it will turn back around.
5Day 5: Visible Growth 5m
5m
5mDiscard and Feed
Remove and discard all but 100 grams of starter. Add 100 grams (3/4 cup) all-purpose flour and 100 grams (1/2 cup) room-temperature water. Stir thoroughly, scrape down the sides of the jar, cover loosely, and rest 24 hours.
6Day 6-7: Doubling Starter 5m
5m
5mDiscard and Feed
Remove and discard all but 100 grams of starter. Add 100 grams (3/4 cup) all-purpose flour and 100 grams (1/2 cup) room-temperature water. Stir thoroughly, scrape down the sides of the jar, cover loosely, and rest until more than doubled in volume.
7Testing Your Starter 1m
1m
1mCheck Readiness
When your starter is ready, it should peak between 4-6 hours and start to recede after 12 hours. It should smell sour and pleasant. Drop a dollop of your starter into a bowl of water. If it floats, it’s healthy enough to use in recipes. If your starter isn’t ready by day 7, continue feeding it following this schedule. It may take a bit longer depending on factors like flour used and the environment.
8Maintaining Your Starter 5m
5m
5mFrequent Bakers
Store at room temperature. Discard and feed every 24 hours. To use the starter, feed and wait for it to reach its peak (4-6 hours), then remove the portion needed for the recipe.
Casual Bakers
Store in the fridge. Once a week, discard and feed the starter, then let it rest at room temperature for 1 to 2 hours before returning it to the fridge. If baking, remove the starter from the fridge and bring to room temperature overnight. Discard and feed. When the starter reaches its peak, remove the portion needed for the recipe, then feed and refrigerate.
Tips
Use non-chlorinated water (filtered or spring water) as chlorine can hinder yeast and bacteria growth.
Consistency in feeding times and temperature is key for optimal starter development.
Patience is essential; starter development can vary, so don't worry if yours takes a little longer than 7 days.